Hey guys! Vartazian here!
Recently while working on my Garen cosplay I was stuck with the dilemma of making scale mail for the costume. I wanted a cost effective, but not cheap, way to make an effective/realistic looking scale mail. I wanted the coat to be light but sturdy and reflect the colours of paint I wanted effectively. The materials I used shouldn’t be to hard to locate and are most commonly found at hobby shops that have model trains and the like.
To use this method, you’ll need:
- Styrene
- An exacto knife
- Fabric (satin)
- Superglue
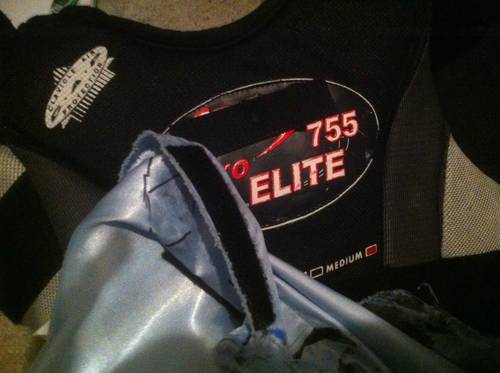
- Body armor (hockey)
I hope this tutorial helps you out, this is actually my first home made cosplay project, so it should be easy enough for anybody to do who has enough time!
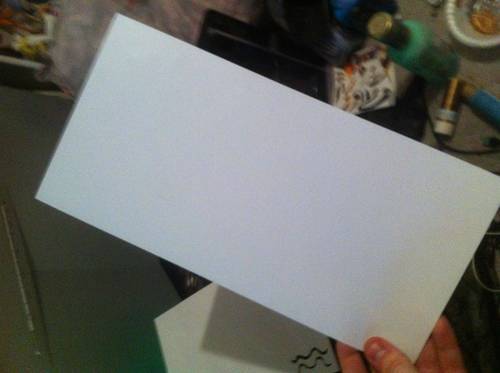
First, you need Styrene (Also known as Plasticard.) You can find packs of 2-4 sheets for about 6-8$ per pack. Get them at your local train hobby store. Getting .10 grade works but anything up to .2 will work (Anything thicker will be more difficult to cut.) You will get about 30-40 scales per sheet of Styrene (For scales 2inx1in tall)
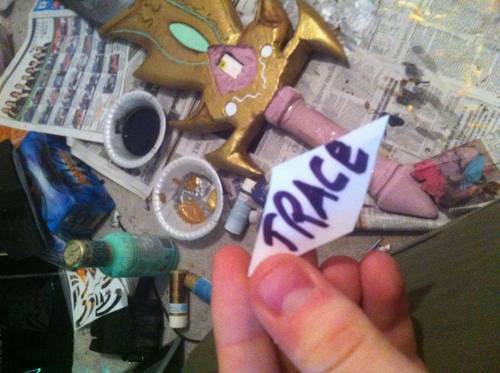
Next, make your trace. This is important, make sure it is symmetrical (you will thank me later). My scales are 2 inches tall by 1 inch wide. Trace in pencil. (Dont lose the trace!)
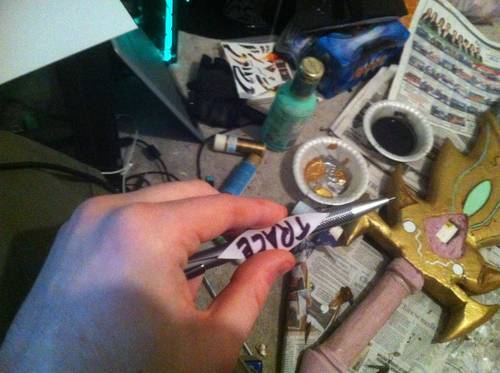
Once the scales are cut you can choose to texture them. I decided to put a bend in them to make them look more three dimensional. (DON’T BEND THE TRACE LIKE I AM IN MY PICTURE.)

Next, get your glue. I find that Hi-Performance Maxi-Cure Ultra Thick works best. Be careful, this stuff is strong and will bind to your skin instantly. (Your scales will be really on there though.)
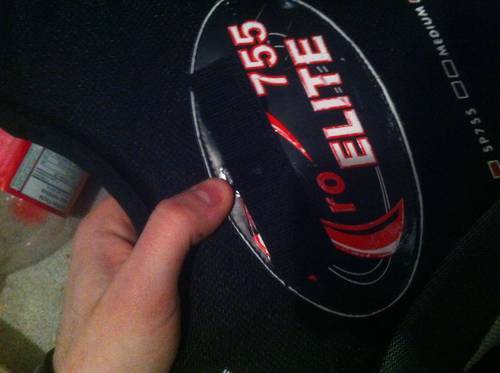
Put velcro on your armor or undershirt that your scale mail layer will attach to. This will make it so that you can remove your armor while cosplaying if you need to without having a massive problem or bending the scales.
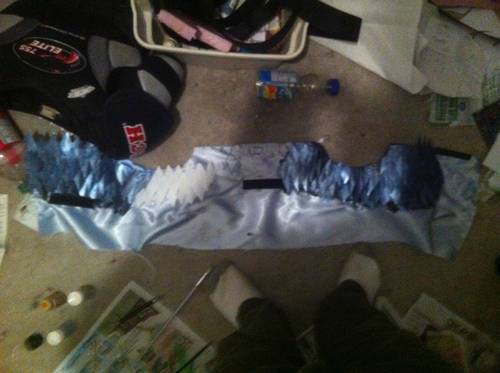
Next get thelayer of fabric you will be attaching your scales to. Attach velcro to the back end of it (I have velcro on the front because I’m attaching other pieces of armour onto this one). This is your ” scale mail layer”.
It just attaches like so.
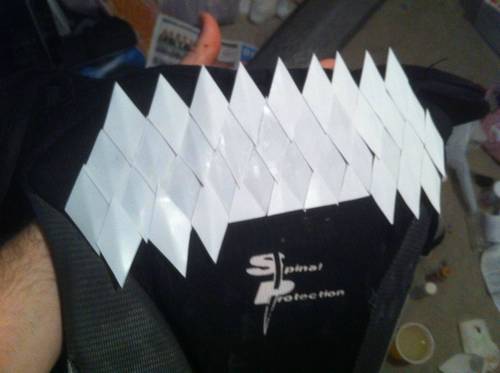
Start gluing the scales onto the armor pieces (or onto the sheet, whatever you want the pattern to be based around.) This is the most time consuming part. Be sure to layer them on top of each other to make them look more realistic. No gaps makes it look crisp and professional.

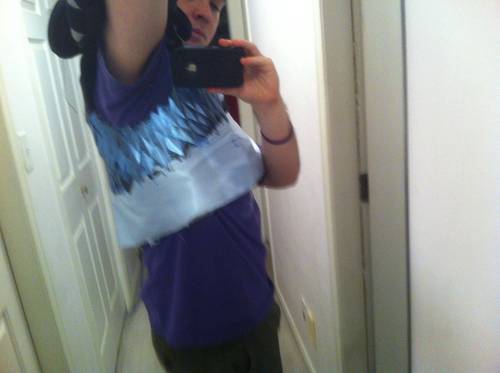
Attach your scale mail layer onto the armor and start to glue scales to match the pattern you need. This part is much easier with a friend to do the under-arm parts, as you need to be wearing the scale mail layer AND the armor/undershirt while doing this or the pattern may stretch when you put it on. (I painted the scale mail layer and left the armor/undershirt layer unpainted to show you the different layers.) I trimmed the underarm parts so I don’t stab myself while wearing it!
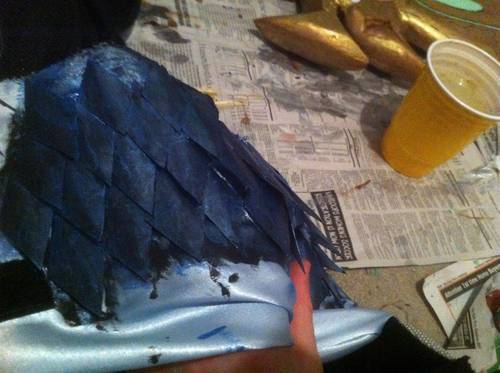
As you see the scales layer nicely, and the bending gives the scales a nice reflective look even with just the first coat of metallic paint.
Example of bending.
I hope this tutorial helped someone out! It’s a time consuming process but this only took me 7-8 hours to do (with an extra set of hands.) Here’s hoping I see some of you at a convention!